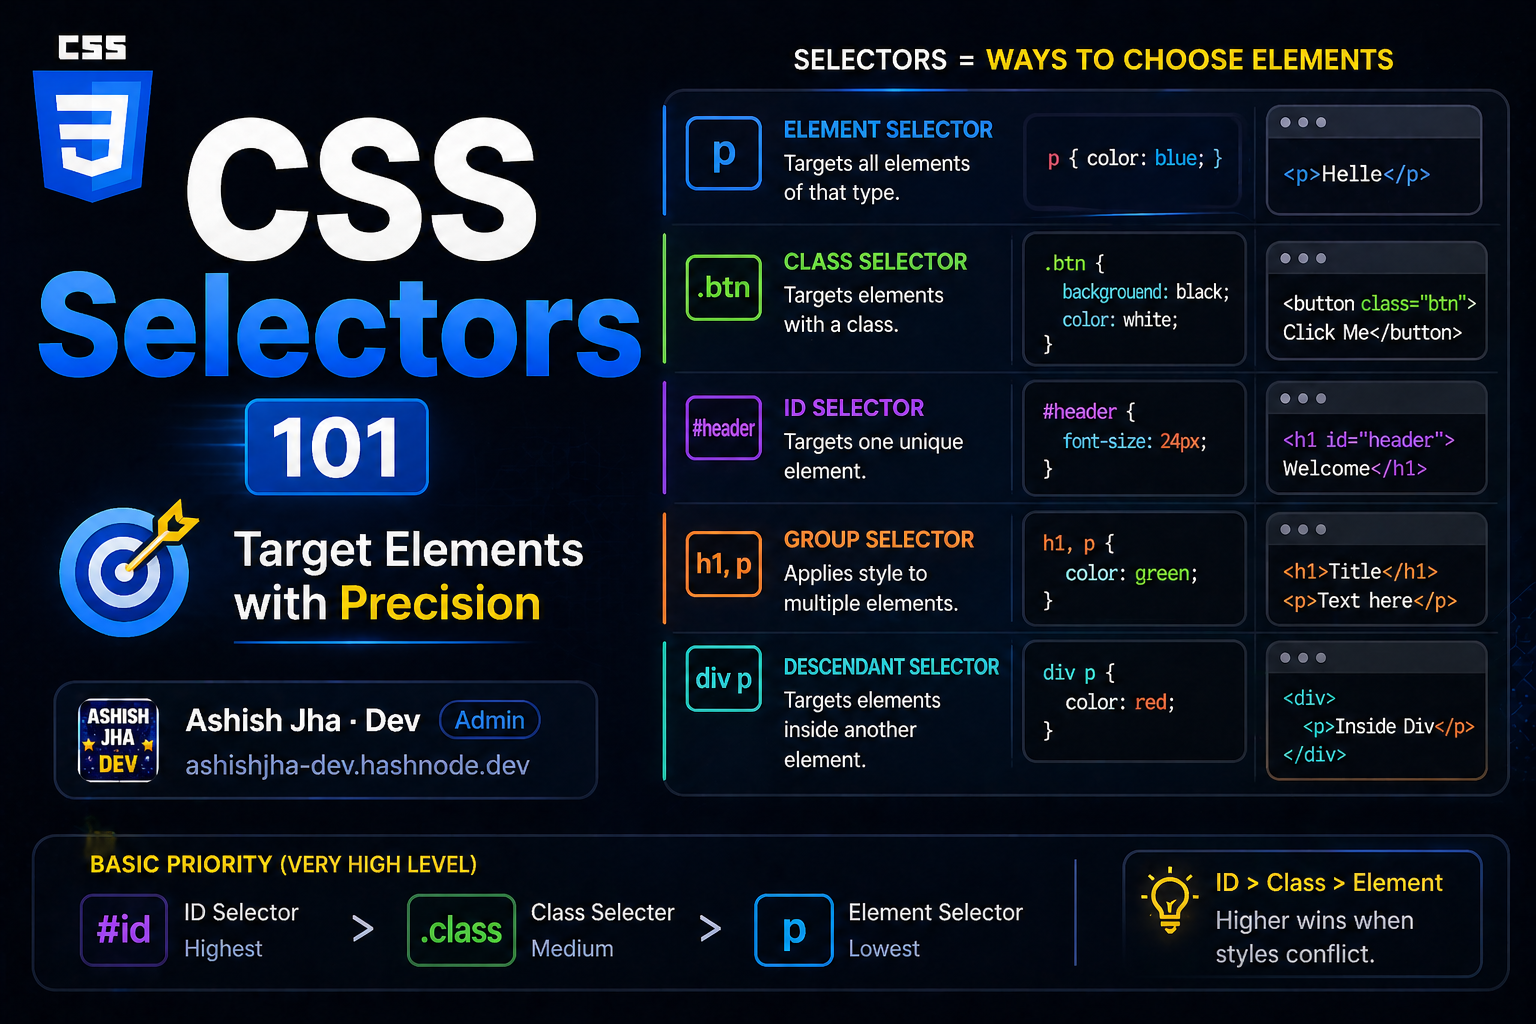
CSS Selectors 101: Target Elements with Precision
Imagine you’re in a classroom.
You say:
“Everyone stand up.”
Everyone stands.
But if you say:
“Only students in row 2 stand up.”
Now you’re targeting specific people.
That’s exactly what CSS selectors do.
Why CSS Selectors Are Needed
HTML creates structure.
CSS adds style.
But how does CSS know: which element to style?
That’s where selectors come in.
They let you target elements precisely.
1. Element Selector (Basic)
Targets all elements of a type.
p {
  color: blue;
}
All <p> tags become blue.
2. Class Selector (Reusable)
Targets elements with a class.
.btn {
  background: black;
  color: white;
}
<button class="btn">Click</button>
Use classes when styling multiple elements.
3. ID Selector (Unique)
Targets a single unique element.
#header {
  font-size: 24px;
}
<h1 id="header">Welcome</h1>
Use ID for one specific element only.
4. Group Selectors
Apply same style to multiple elements.
h1, p {
  color: green;
}
Both <h1> and <p> turn green.
5. Descendant Selector
Targets elements inside another element.
div p {
  color: red;
}
Only <p> inside <div> are affected.
Selector Priority
When multiple selectors apply:
CSS decides based on priority:
| Selector | Priority |
|---|---|
| ID | Highest |
| Class | Medium |
| Element | Lowest |
Example
<p class="text" id="main">Hello</p>
p { color: blue; }
.text { color: green; }
#main { color: red; }
Final color = red (ID wins)
When to Use What
Use element → simple styling
Use class → reusable styles
Use ID → unique cases
Final Thought
Selectors are not just syntax.
They are how you control your UI precisely.


